Garment printing has been one of the busiest businesses in the world since forever.
We see many new printed designs every day released by different people from different fields for different purposes. It’s not a business that runs out of style, that’s for sure!
Some may be printing shirts and other garments as their main business. Others may be doing it for extra money and promotional reasons, like most musicians, and artists, as well as other businesses not in-line with selling garments.
But the topic of today’s article is on what can be done to obtain the best results for printing photorealistic designs onto dark shirts. This has been a problem most consumer and garment printing businesses have. It’s challenging to make photorealistic designs look photorealistic on dark shirts.
Well…not really.
We will be sharing some tips to have a successful high-end screen printing on dark shirts. So just sit back, relax, and continue reading.
Find a good color separator

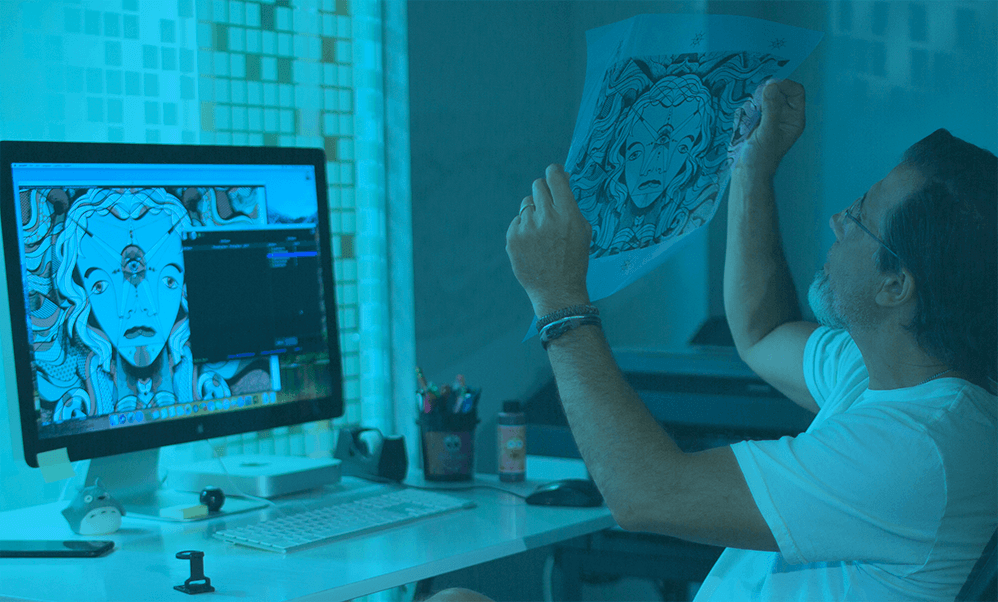
To have your design printed on the shirt, the colors of your design must be separated into individual colors. And if the design has gradations, shading, or photorealistic elements present, this part is turned into halftone dots. This initial step is called color separation.
There are many types of color separation depending on the design you have. We have Spot Color for designs with very basic solid color fills and Spot Color with Halftones for designs with simple gradients.

There’s also a type called Complex Spot Color for complex designs with numerous colors and Four Color Process or 4CP, where cyan, magenta, yellow and black are the only ones used for the design.
For photorealistic designs, we have the Simulated Process.
To achieve a great t-shirt print, it would be best to find a good color separator.
There are many printers who would turn away or do a subpar separation of photorealistic designs due to how hard it can be to separate colors. I suggest having them separated outside rather than dealing with low quality color separation.

If you can’t find one, you can have T-Seps or Fastfilm program to separate them. These two programs have been used by big printers all over the world, so it would be safe to use them. Just remember to follow the instructions on the manual.
Print out a good film output

When we do screen printing we always use a film positive which means that what’s printed on the film is the same as what will be printed on the shirt.
The purpose of having your positive image is for it to block 100% of the UV light during the exposure. So it is a must to have your positives in full black.
To have a good film output, you will need a waterproof transparency film and a photo quality inkjet printer. You can also use a laser printer if you don’t have the inkjet one. But, just a warning, it will not print film positives as dense as inkjets do.
A secret to printing photorealistic designs is to hold the halftone dots on the film and on the screen. If you lose those dots then prepare to have a low quality version of the actual design.
According to Scott Fresner, former CEO of U.S. Screen Print & Inkjet Technology, said that halftone screen angle is also important to make a good film output

According to him, the Simulated Process will need halftone in elliptical dots and positioned in 25 degrees angle for all colors. For CMYK (Cyan, Magenta, Yellow and Key) he suggests 15 degrees for Cyan, 45 degrees for Magenta, and 75 degrees for Yellow and Key.
Ensure a well built and prepared mesh screen

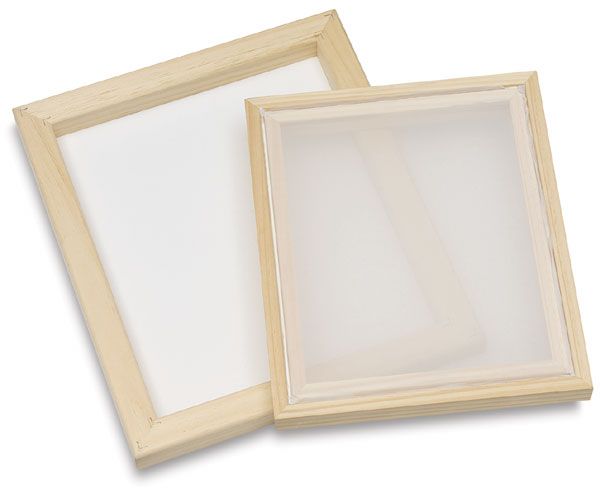
Screen printing won’t be complete without mesh screens for they’re the ones that will hold your design. To make sure that you have a good mesh screen, check the screens and see if they are properly tensioned.
It would be best to have rigid aluminum screens with 25-30 Newtons tension. If you don’t have ones with aluminum frames then you can use those with wood frames and choose the tightest one.

Aside from properly tensioned screens and tight frames, mesh count is also important in making a high-end print. For photorealistic designs, 230 mesh count (90 cm) is mostly used for the underbase while a 305 mesh count (120 cm) is used for the top colors.
To prepare your mesh screen, you will have to put emulsions on both sides of it. It should have a 1 to 1 ratio, which means that you have to apply one thin coat of emulsion on the backside and one thin coat of emulsion on the front.
After attaching your film output on the mesh screen, you can now expose your screen to UV light. There are three ways you can do this, one is to leave it under direct sunlight, another is having a light source on top of the screen and last is one where the light source is at the bottom.
With the last way of exposing your screen, bear in mind that you will need to make sure that your screen and the glass screen of the equipment are touching. To make this possible, you can put some weight on the screen, make sure the weight is equally distributed.
Make sure you use the right ink

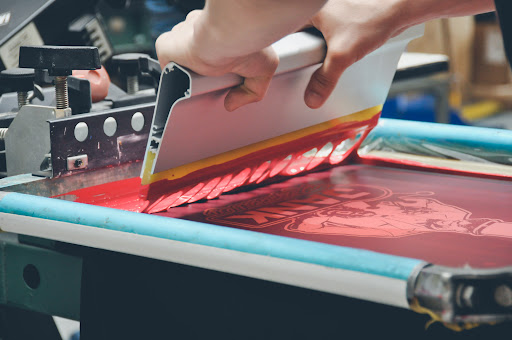
For photorealistic designs that use a simulated process, printers use a good high-opacity white ink for the underbase and white highlight while they use plastisols for the top colors.
To have a more soft white ink which is better for clearing out the screen during printing, you can add a small amount of curable reducer.

If the design is in CMYK, special inks should be utilized. Cyan, Magenta, Yellow and Black are best used for light garments. Since their super thin and transparent inks they are hardly visible on white bases.
Because of this, companies have offered “triple strength” plastisols that have heavier pigment. So I suggest you use the triple strength plastisols when printing CMYK on dark shirts.
Print on a good shirt

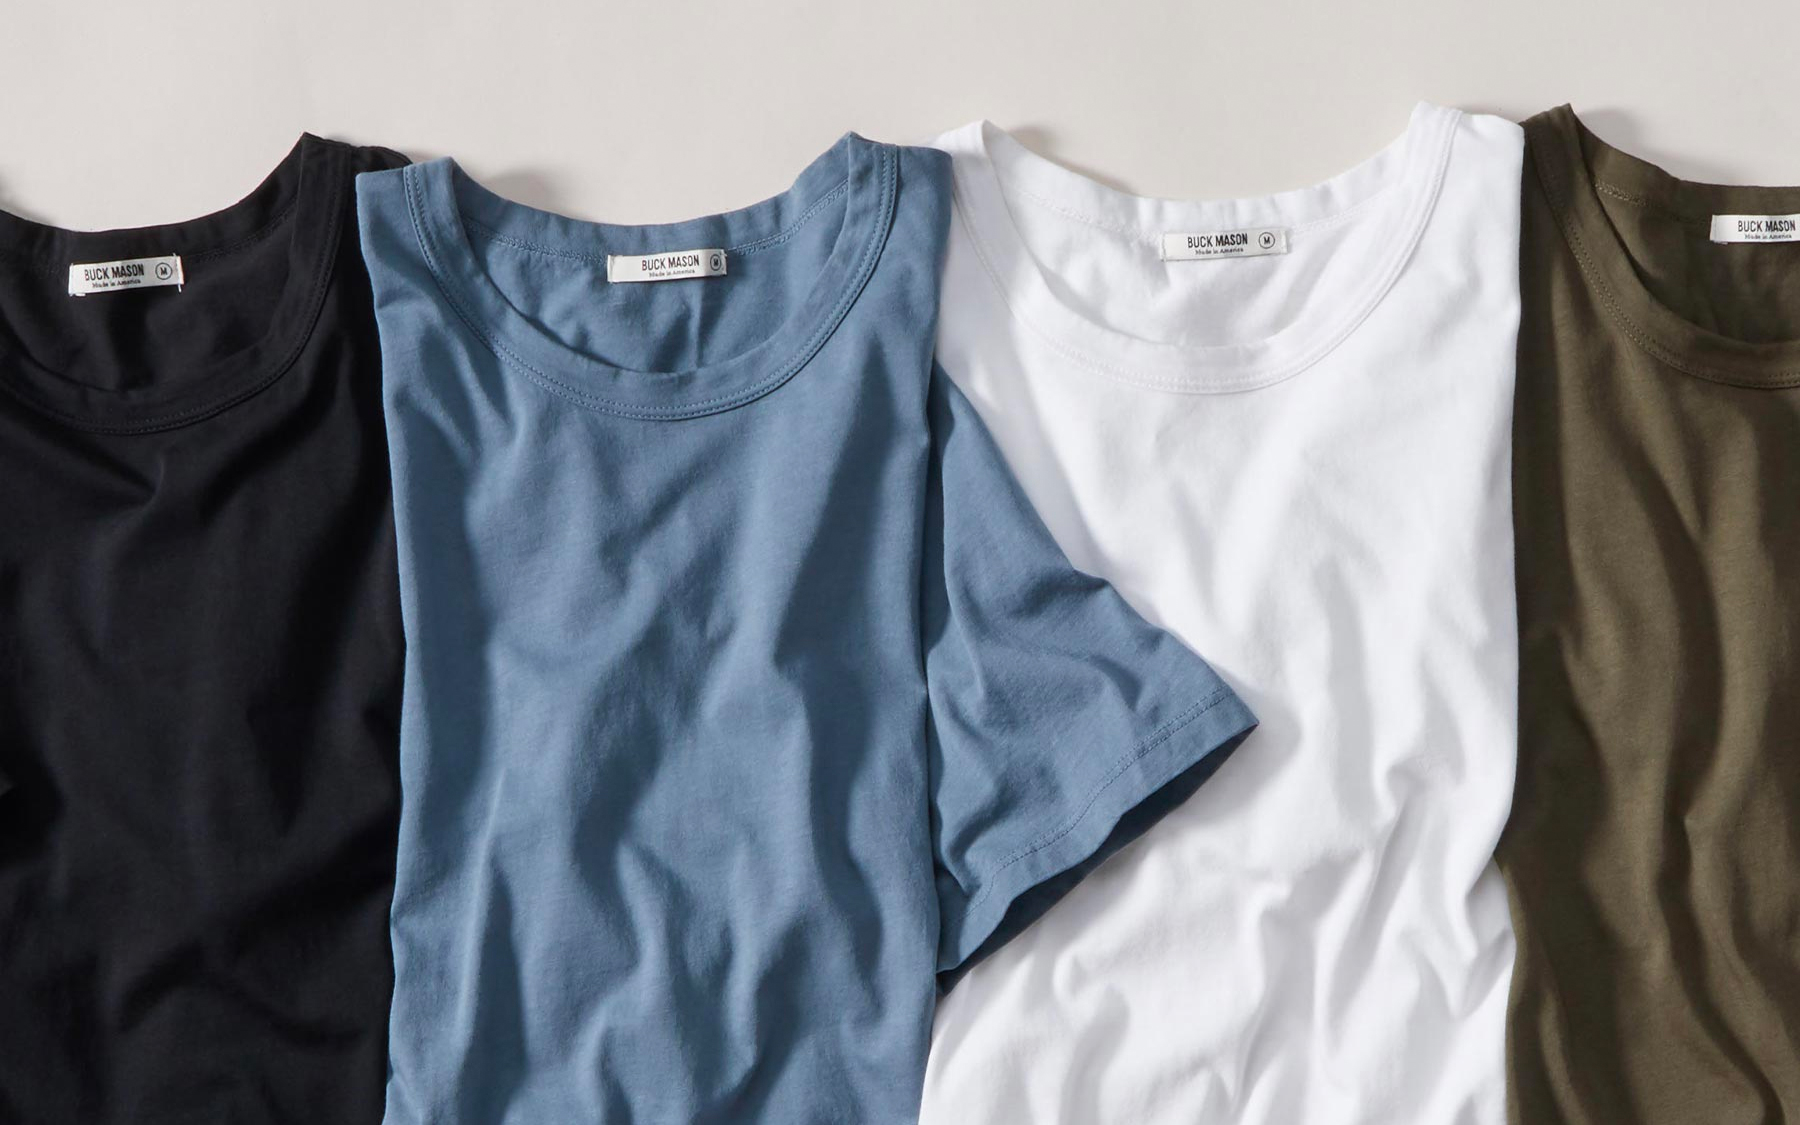
To be considered a good shirt for screen printing, it should be tightly knitted. This means that 100% cotton is better than those 50/50 Cotton/Polyester blends.
If you plan on printing on fleece or polo shirts with a rough surface, then line count should be lowered. Bear in mind that this means that the print will not be as clean as it would on a shirt.

Screen printing is a laborious printing, but I assure you, its results are worth it. So if you just follow through with the tips I’ve given then you will have the best results.
Have a great time screen printing your shirts but if you don’t find it enjoyable, we’re here for you. We can do screen printing aside from DTG. 🙂


